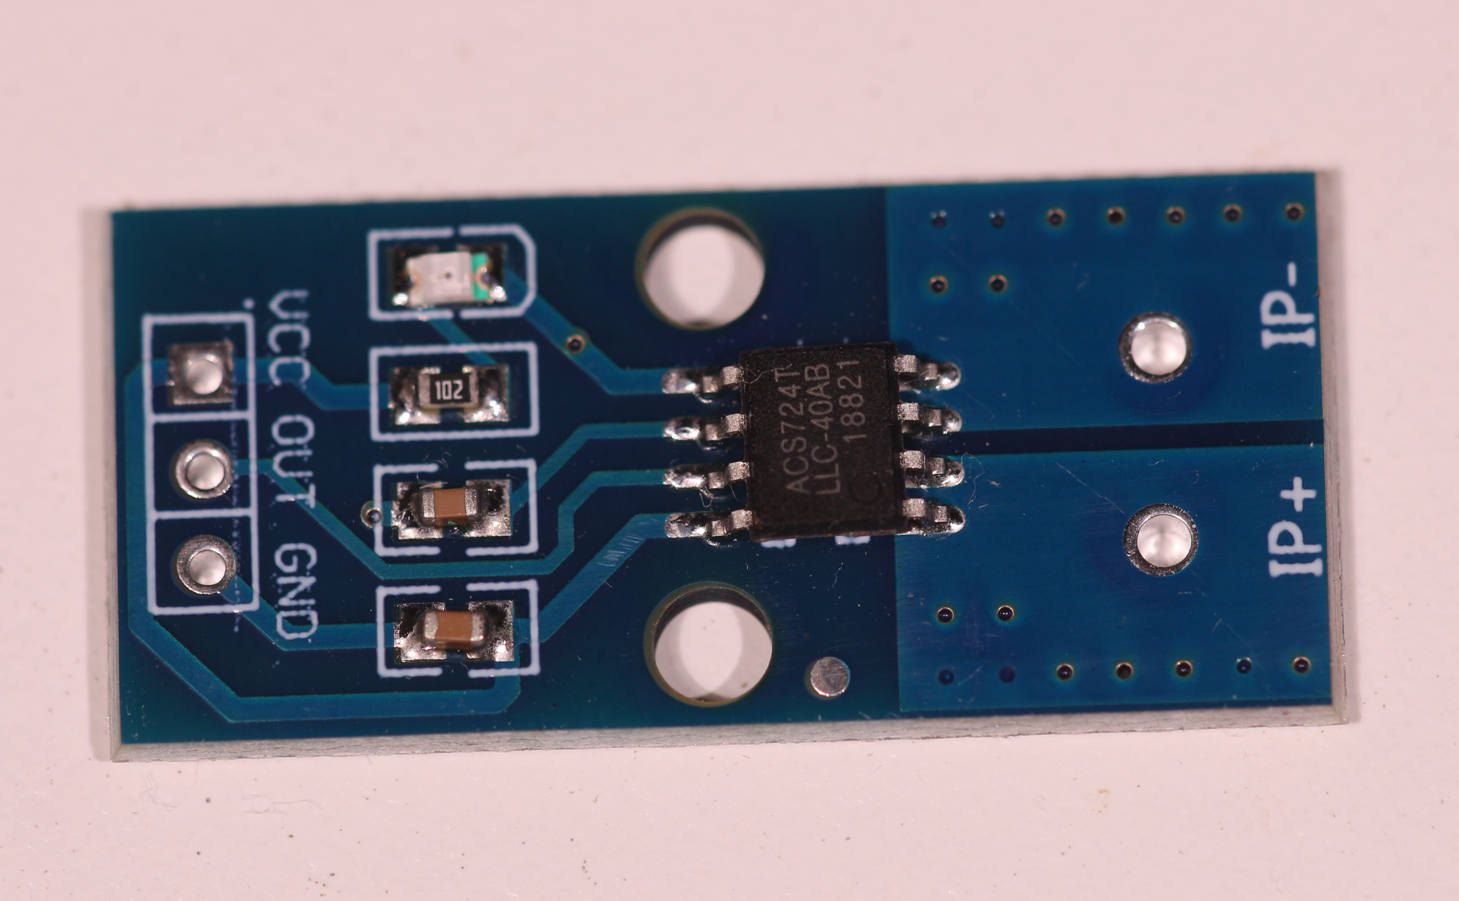
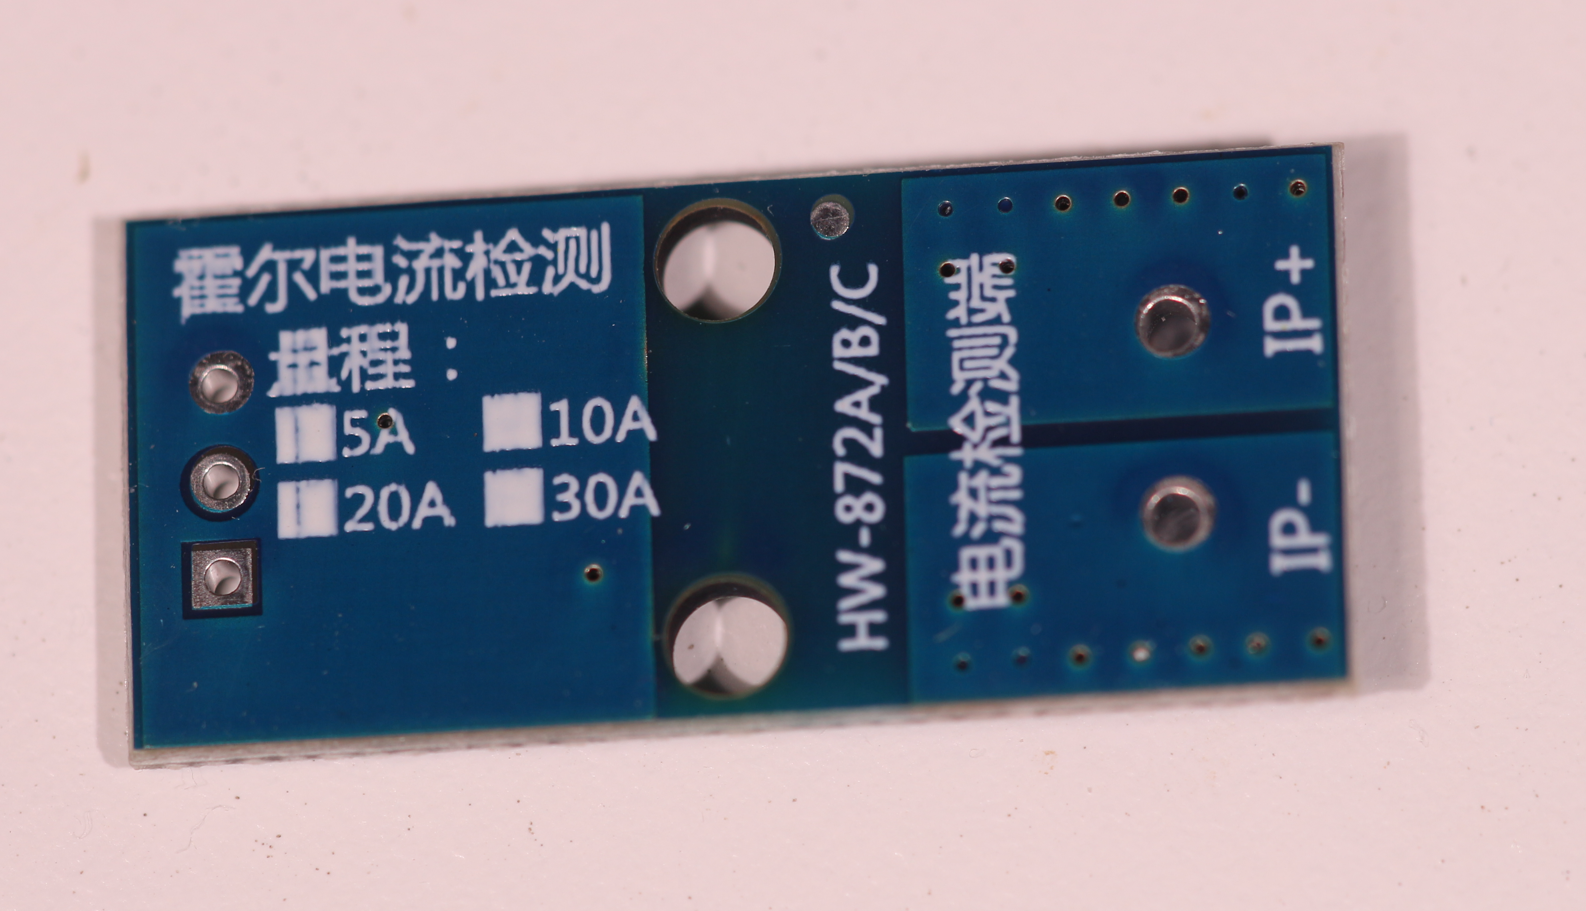
ACS724 sensor arus dengan Hall Effect
 March 17, 2026
ACS724 sensor arus dengan Hall Effect
March 17, 2026
ACS724 sensor arus dengan Hall Effect
March 17, 2026
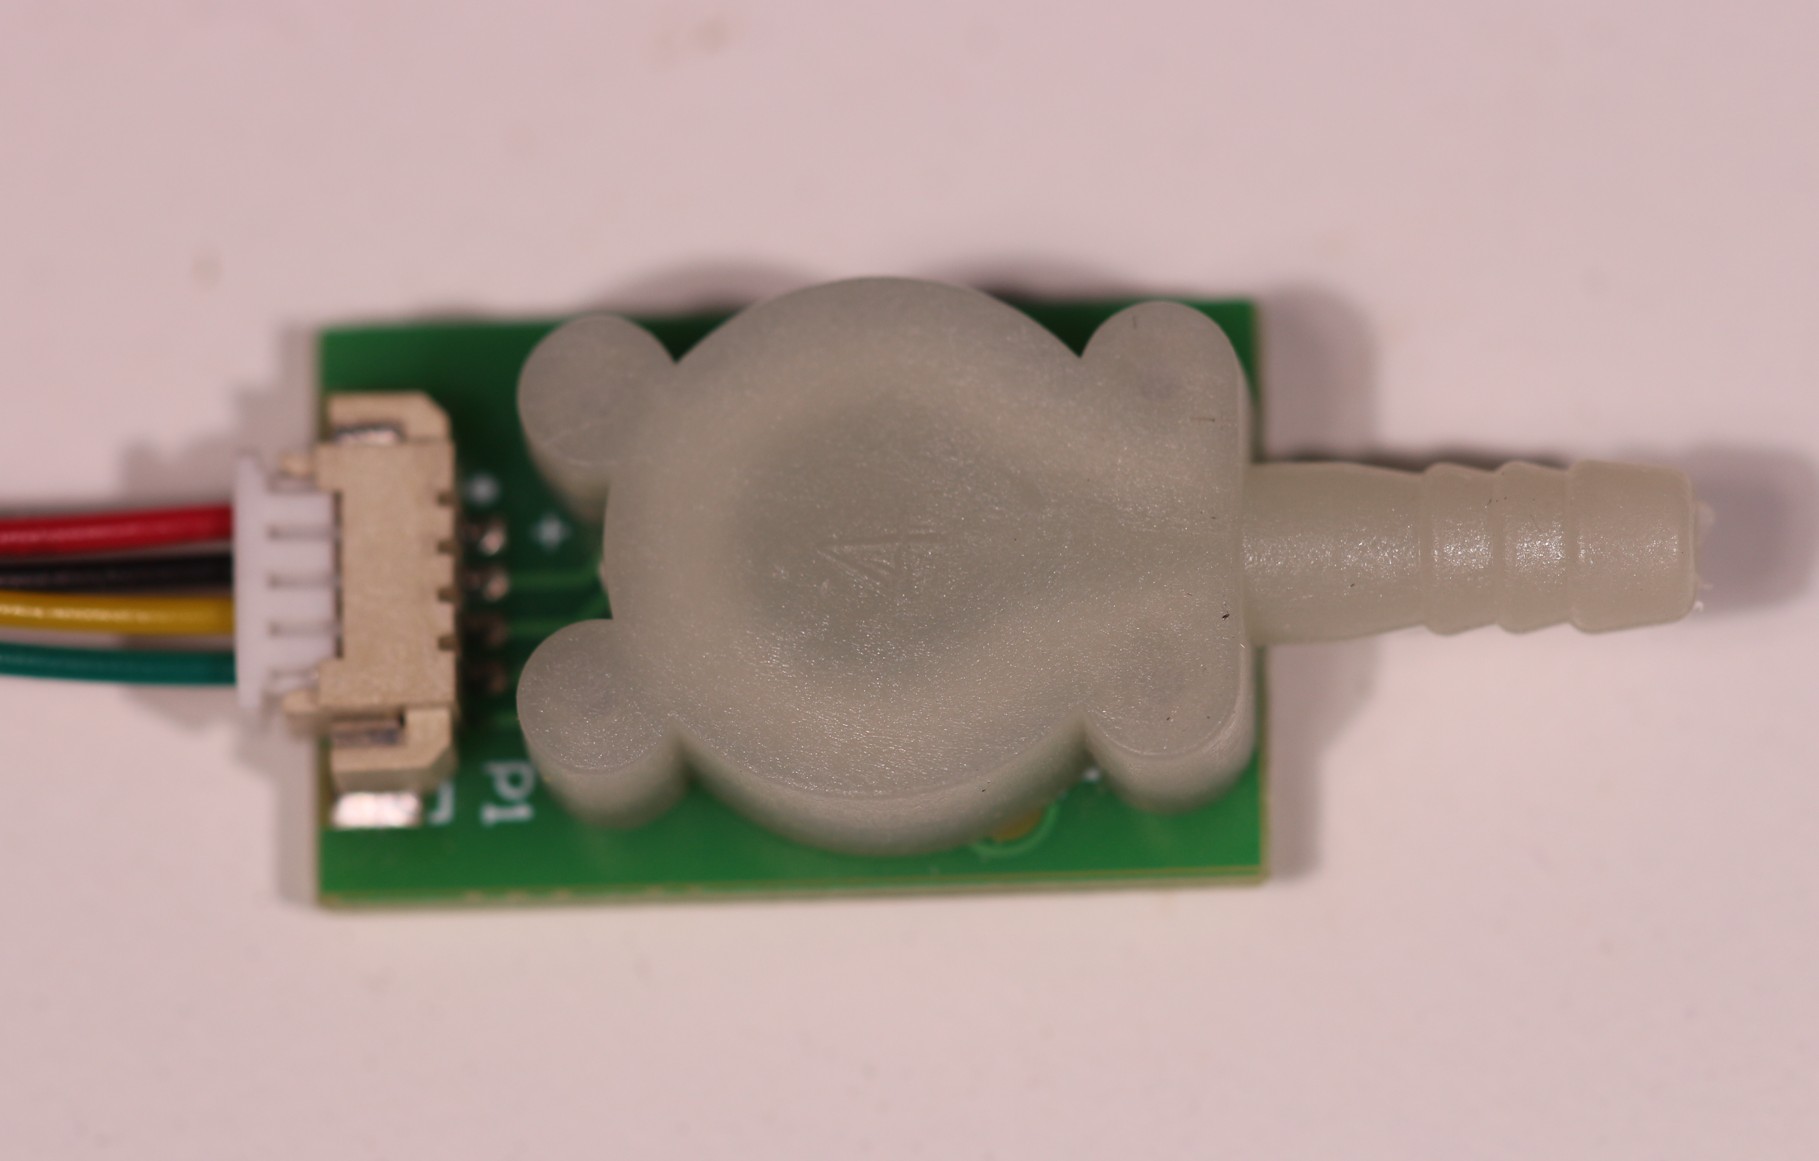
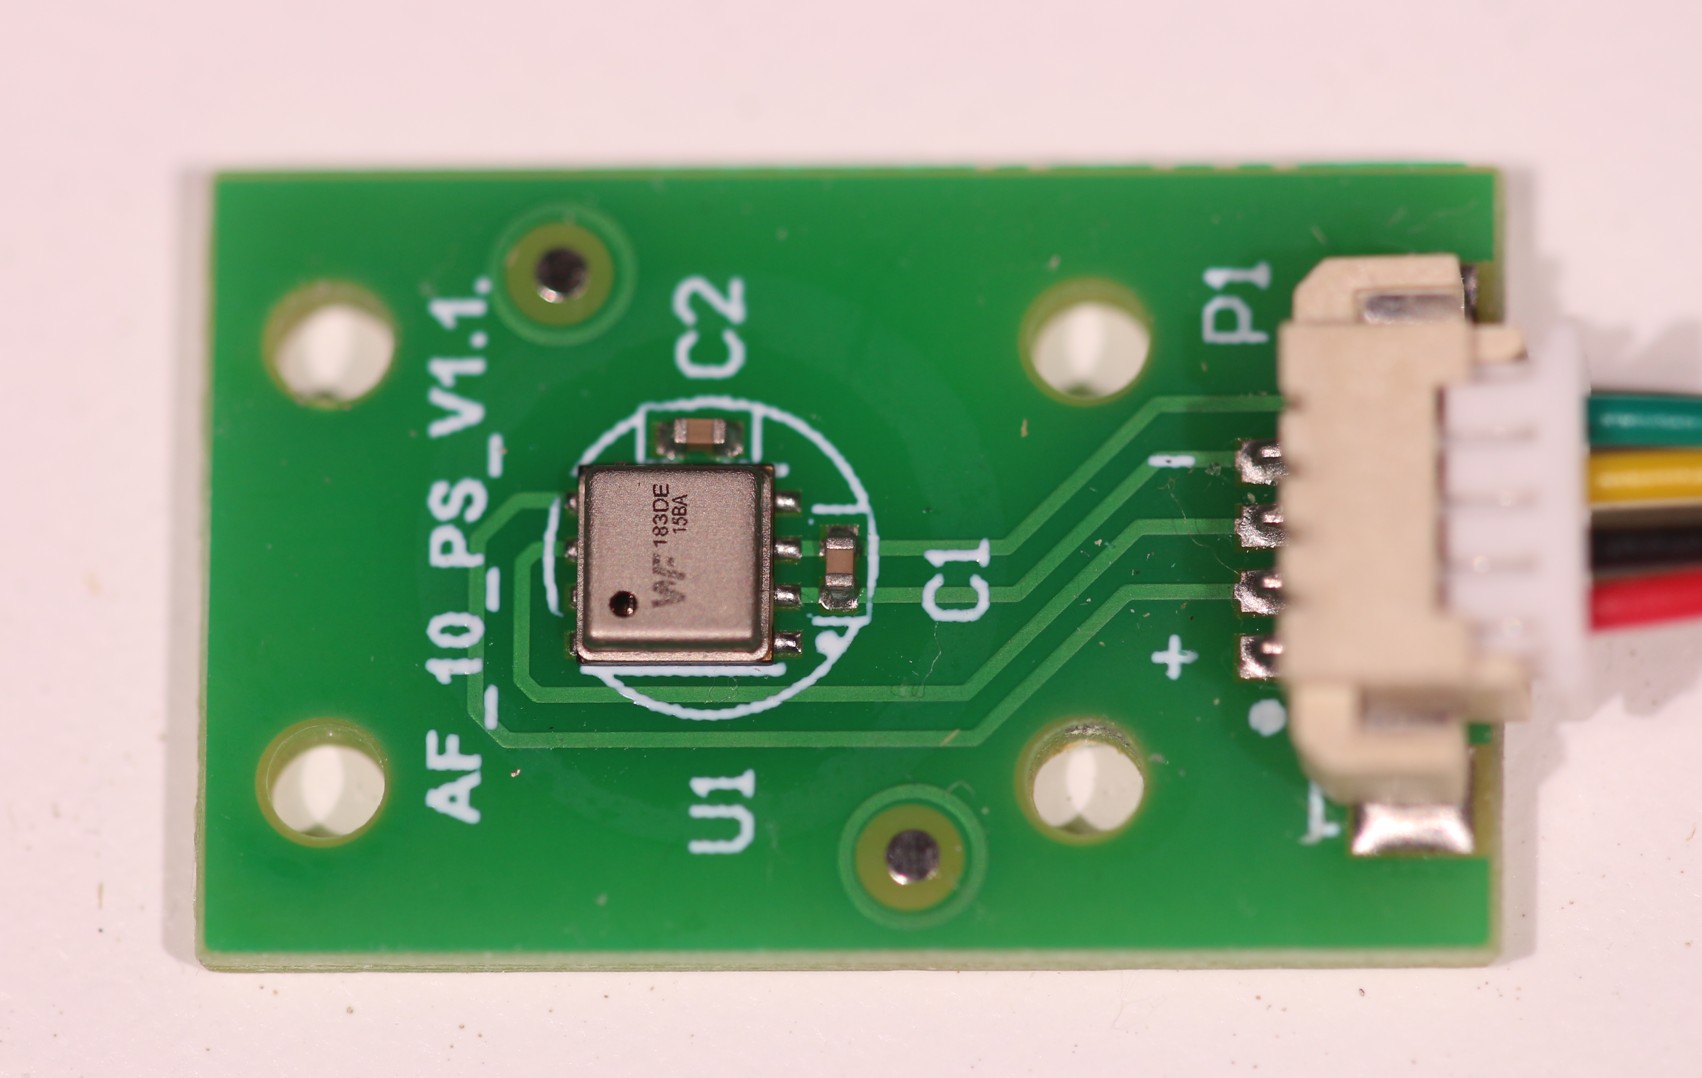
WF183DE
March 17, 2026
Tipe: WF183DE
March 17, 2026
Tipe thermistor: MF52-103 5% 3950
March 17, 2026
TM7711
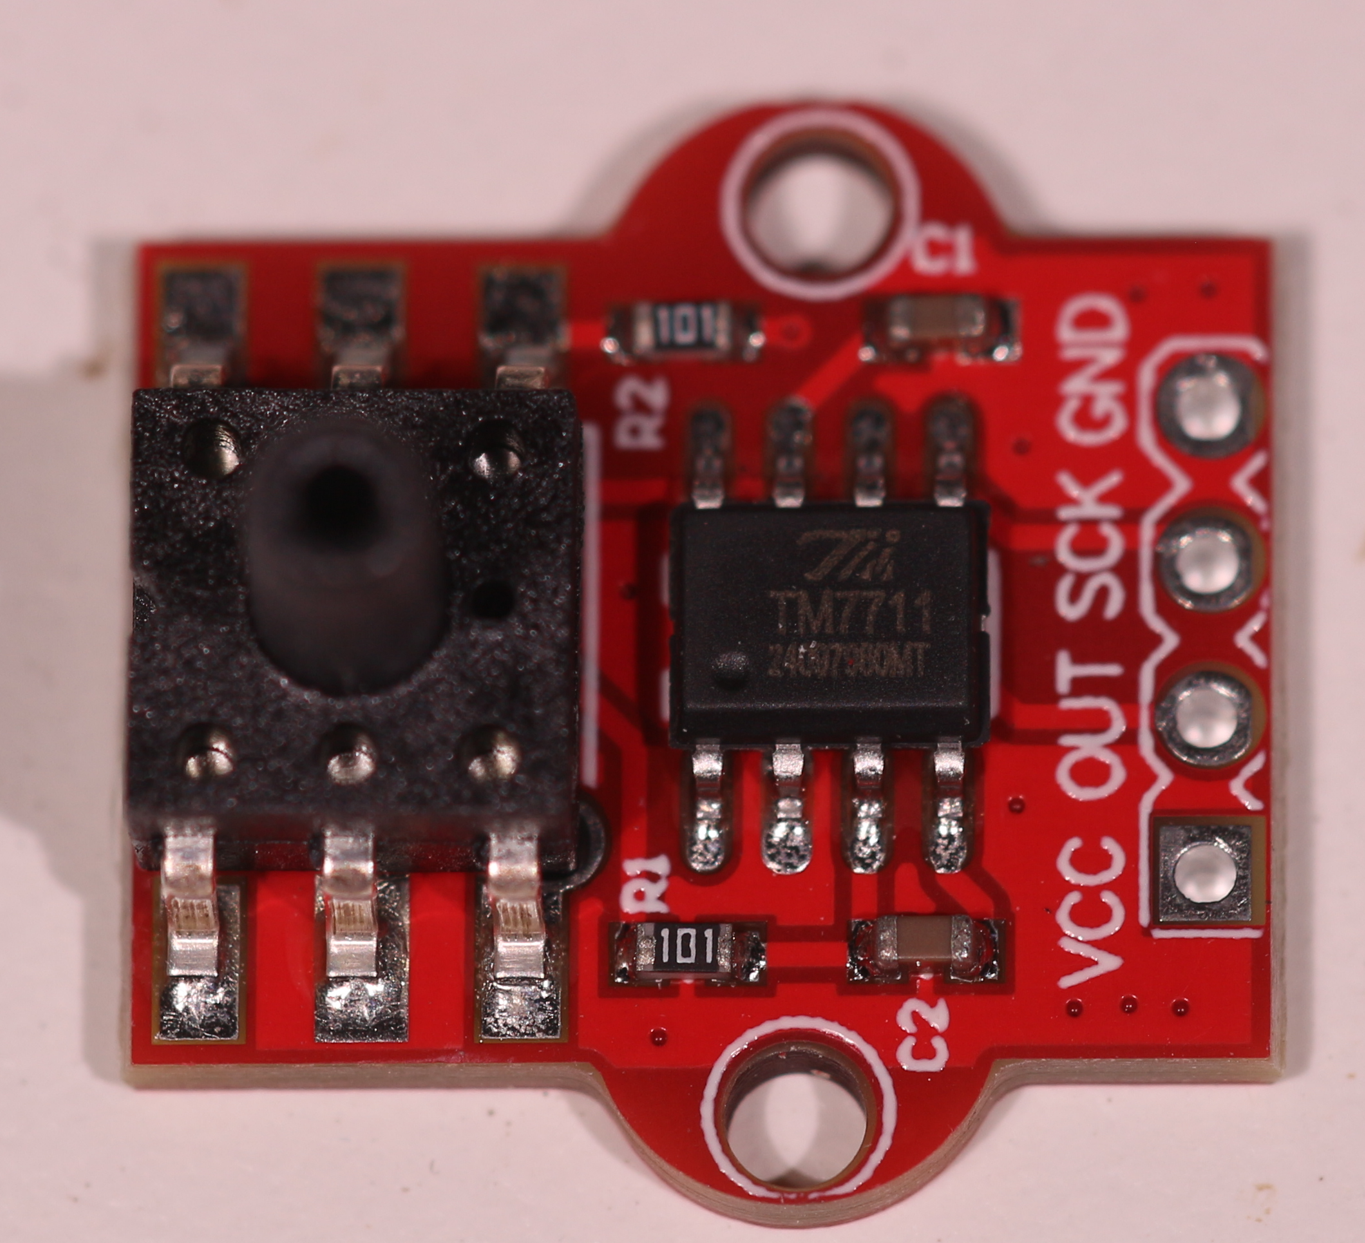
March 14, 2026
Contoh program Interupsi timer dengan frekuensi 1 kHz, output ke GPIO nomor 2 Menggunakan Arduino Core versi 3.x (bukan 2.x)
// ESP32 - 1 kHz LED Blink via Hardware Timer Interrupt
// Compatible with ESP32 Arduino Core v3.x (new timer API)

#define LED_PIN 0  // Built-in LED on most ESP32 dev boards

volatile bool ledState = false;

hw_timer_t* timer = NULL;

// ISR - fires at 2 kHz, toggles LED → full ON/OFF cycle = 1 kHz
void IRAM_ATTR onTimer() {
  ledState = !ledState;
  digitalWrite(LED_PIN, ledState);
}

void setup() {
  Serial.begin(115200);
  pinMode(LED_PIN, OUTPUT);

  // New API (Core v3.x): timerBegin(frequency_hz)
  // 2000 Hz ISR → LED toggles 2000x/sec → blink cycle = 1 kHz
  timer = timerBegin(2000);

  // Attach ISR
  timerAttachInterrupt(timer, &onTimer);

  // Alarm every 1 tick at 2000 Hz = every 500 µs
  timerAlarm(timer, 1, true, 0);

  Serial.println("1 kHz LED blink started (Core v3.x API).");
}

void loop() {
  // Main loop is free — all work done in ISR
  delay(1000);
  Serial.println("Running... LED blinking at 1 kHz.");
}
Berikut ini contoh mengirim data dari ESP32 ke web server sederhana. Protokol yang dipakai adalah HTTP POST
Kode di ESP32:
// urlencoded
// https://randomnerdtutorials.com/esp32-http-get-post-arduino/#http-post
// https://docs.arduino.cc/libraries/httpclient/
// receiving JSON POST https://www.geeksforgeeks.org/how-to-receive-json-post-with-php/

#include <ArduinoJson.h>
#include <HTTPClient.h>
#include <WiFiMulti.h>

const char *AP_SSID = "AP Name";
const char *AP_PWD = "AP password";

void setup() {
  Serial.begin(115200);

  WiFi.begin(AP_SSID, AP_PWD);
  while (WiFi.status() != WL_CONNECTED) {
    delay(1000);
    Serial.println("Connecting to WiFi...");
  }
  Serial.println("Connected to WiFi");
  Serial.print("ESP32 Web Server's IP address: ");
  Serial.println(WiFi.localIP());
}

void loop() {
  postDataToServer();
  delay(10000);  // delay 10 seconds
}
int counter = 0;
void postDataToServer() {
  Serial.println("Posting POST data to server...");
  // Block until we are able to connect to the WiFi access point
  if (WiFi.status() == WL_CONNECTED) {
    HTTPClient http;
    http.begin("http://192.168.0.139/post.php");
    http.addHeader("Content-Type", "application/x-www-form-urlencoded");

    // parameter POST dummy, kecuali counter yang diupdate teratur

    String httpRequestData = "api_key=tPmAT5Ab3j7F9&sensor=BME280&value1=24.25&value2=49.54&value3=1005.14&counter=" + String(counter);
    int httpResponseCode = http.POST(httpRequestData);
    if (httpResponseCode > 0) {
      String response = http.getString();
      Serial.println(httpResponseCode);
      Serial.println(response);  // cek untuk debugging

    } else {
      Serial.print("error code");
      Serial.print(httpResponseCode);
      // error codes from https://github.com/amcewen/HttpClient/blob/master/HttpClient.h
      // static const int HTTP_ERROR_CONNECTION_FAILED =-1;
      // static const int HTTP_ERROR_API =-2;
      // static const int HTTP_ERROR_TIMED_OUT =-3;
      // static const int HTTP_ERROR_INVALID_RESPONSE =-4;
    }
  }
  counter++;
}
Berikut ini kode PHP di web server
August 24, 2025
Status pin GPIO pada ESP32 dapat dibaca menggunakan library digitalRead(). Berikut contoh cara membaca nilai GPIO pada ESP32. Pin yang dijadikan input adalah pin nomor 33.
// contoh program membaca digital input menggunakan digitalRead()
#define INPUT_PIN 33

void setup() {
  pinMode(INPUT_PIN, INPUT_PULLUP);
  Serial.begin(115200);
  Serial.println("\nContoh program membaca digital input menggunakan digitalRead()");
  Serial.println(__FILE__");
}

void loop() {
  int input_value;
  input_value = digitalRead(INPUT_PIN);
  Serial.println(input_value);
  delay(1000);
}
Berikut contoh pengujian program dengan menggunakan ESP32 Lolin32 Lite. Push button dihubungkan antara GND dengan pin 34 pada ESP32. Status tombol ditampilkan pada serial monitor.
August 24, 2025
Pada ESP32 terdapat pin GPIO (General Purpose Input Output) yang dapat dibaca oleh perangkat lunak. Membaca GPIO dapat dilakukan dengan library Arduino dengan fungsi digitalRead(), dan dapat juga dengan langsung mengakses register. Pembacaaan melalui register lebih cepat, namun sedikit lebih rumit dibandingkan menggunakan library Arduino. Berikut cara membaca Nilai GPIO pada ESP32 langsung melalui register.
Pada percobaan ini menggunakan variabel GPIO.in yang dipetakan ke register IO.
August 24, 2025
| GPIO | Input | Output | Catatan |
|---|---|---|---|
| 0 | pull up | OK | |
| 1 | TX pin | OK | |
| 2 | OK | OK | Devkit V1 onboard LED |
| 3 | OK | RX pin | |
| 4 | OK | OK | |
| 5 | OK | OK | |
| 6 | x | x | integrated SPI flash |
| 7 | x | x | integrated SPI flash |
| 8 | x | x | integrated SPI flash |
| 9 | x | x | integrated SPI flash |
| 10 | x | x | integrated SPI flash |
| 11 | x | x | integrated SPI flash |
| 12 | OK | OK | |
| 13 | OK | OK | |
| 14 | OK | OK | |
| 15 | OK | OK | |
| 16 | OK | OK | |
| 17 | OK | OK | |
| 18 | OK | OK | |
| 19 | OK | OK | tidak dihubungkan |
| 20 | OK | OK | |
| 21 | OK | OK | |
| 22 | OK | OK | Lolin32 Lite onboard LED |
| 23 | OK | OK | |
| 24 | OK | OK | |
| 25 | OK | OK | |
| 26 | OK | OK | |
| 27 | OK | OK | |
| 28 | OK | OK | tidak dihubungkan |
| 29 | OK | OK | tidak dihubungkan |
| 30 | OK | OK | tidak dihubungkan |
| 31 | OK | OK | tidak dihubungkan |
| 32 | OK | OK | |
| 33 | OK | OK | |
| 34 | OK | OK | hanya input, tidak ada pull up |
| 35 | OK | OK | hanya input, tidak ada pull up |
| 36 | OK | OK | hanya input, tidak ada pull up |
| 37 | x | x | tidak dihubungkan |
| 38 | x | x | tidak dihubungkan |
| 39 | OK | OK | hanya input, tidak ada pull up |
Referensi: